How to write a construction estimate customers say yes to
A practical, 8-step method for writing a construction or remodeling estimate: scope, measurements, labor, materials, waste, markup, terms, and a clean PDF.

A good estimate does two jobs at once. It protects your margin, and it makes the customer comfortable enough to sign. Customers rarely reject an estimate because the total is high; they reject it because they can't tell what they are paying for. The method below fixes both problems.
What a construction estimate should include
Before the steps, here is what the finished document needs:
- Your business name, contact details, and logo
- The customer's name and the job address
- A short description of the scope — what is included and what is not
- Line items with quantity, unit, and unit cost
- Markup, tax, and the total
- Deposit amount and payment schedule
- How long the price is valid, and a place to sign
Step 1: Write the scope in plain words
Start with two or three sentences: "Remove existing tub and tile. Install new shower pan, cement board, and floor-to-ceiling tile. Customer supplies fixtures." Then list exclusions, such as permits, hidden water damage, or painting. Most change-order arguments are really scope arguments.
Step 2: Measure on site
Walk the job and take measurements you can defend: square feet of floor and wall, linear feet of trim, number of outlets, fixtures, and openings. Take photos. An estimate built from your own measurements is faster to adjust when the customer asks "what if we skip the niche?"
Step 3: Turn the scope into line items
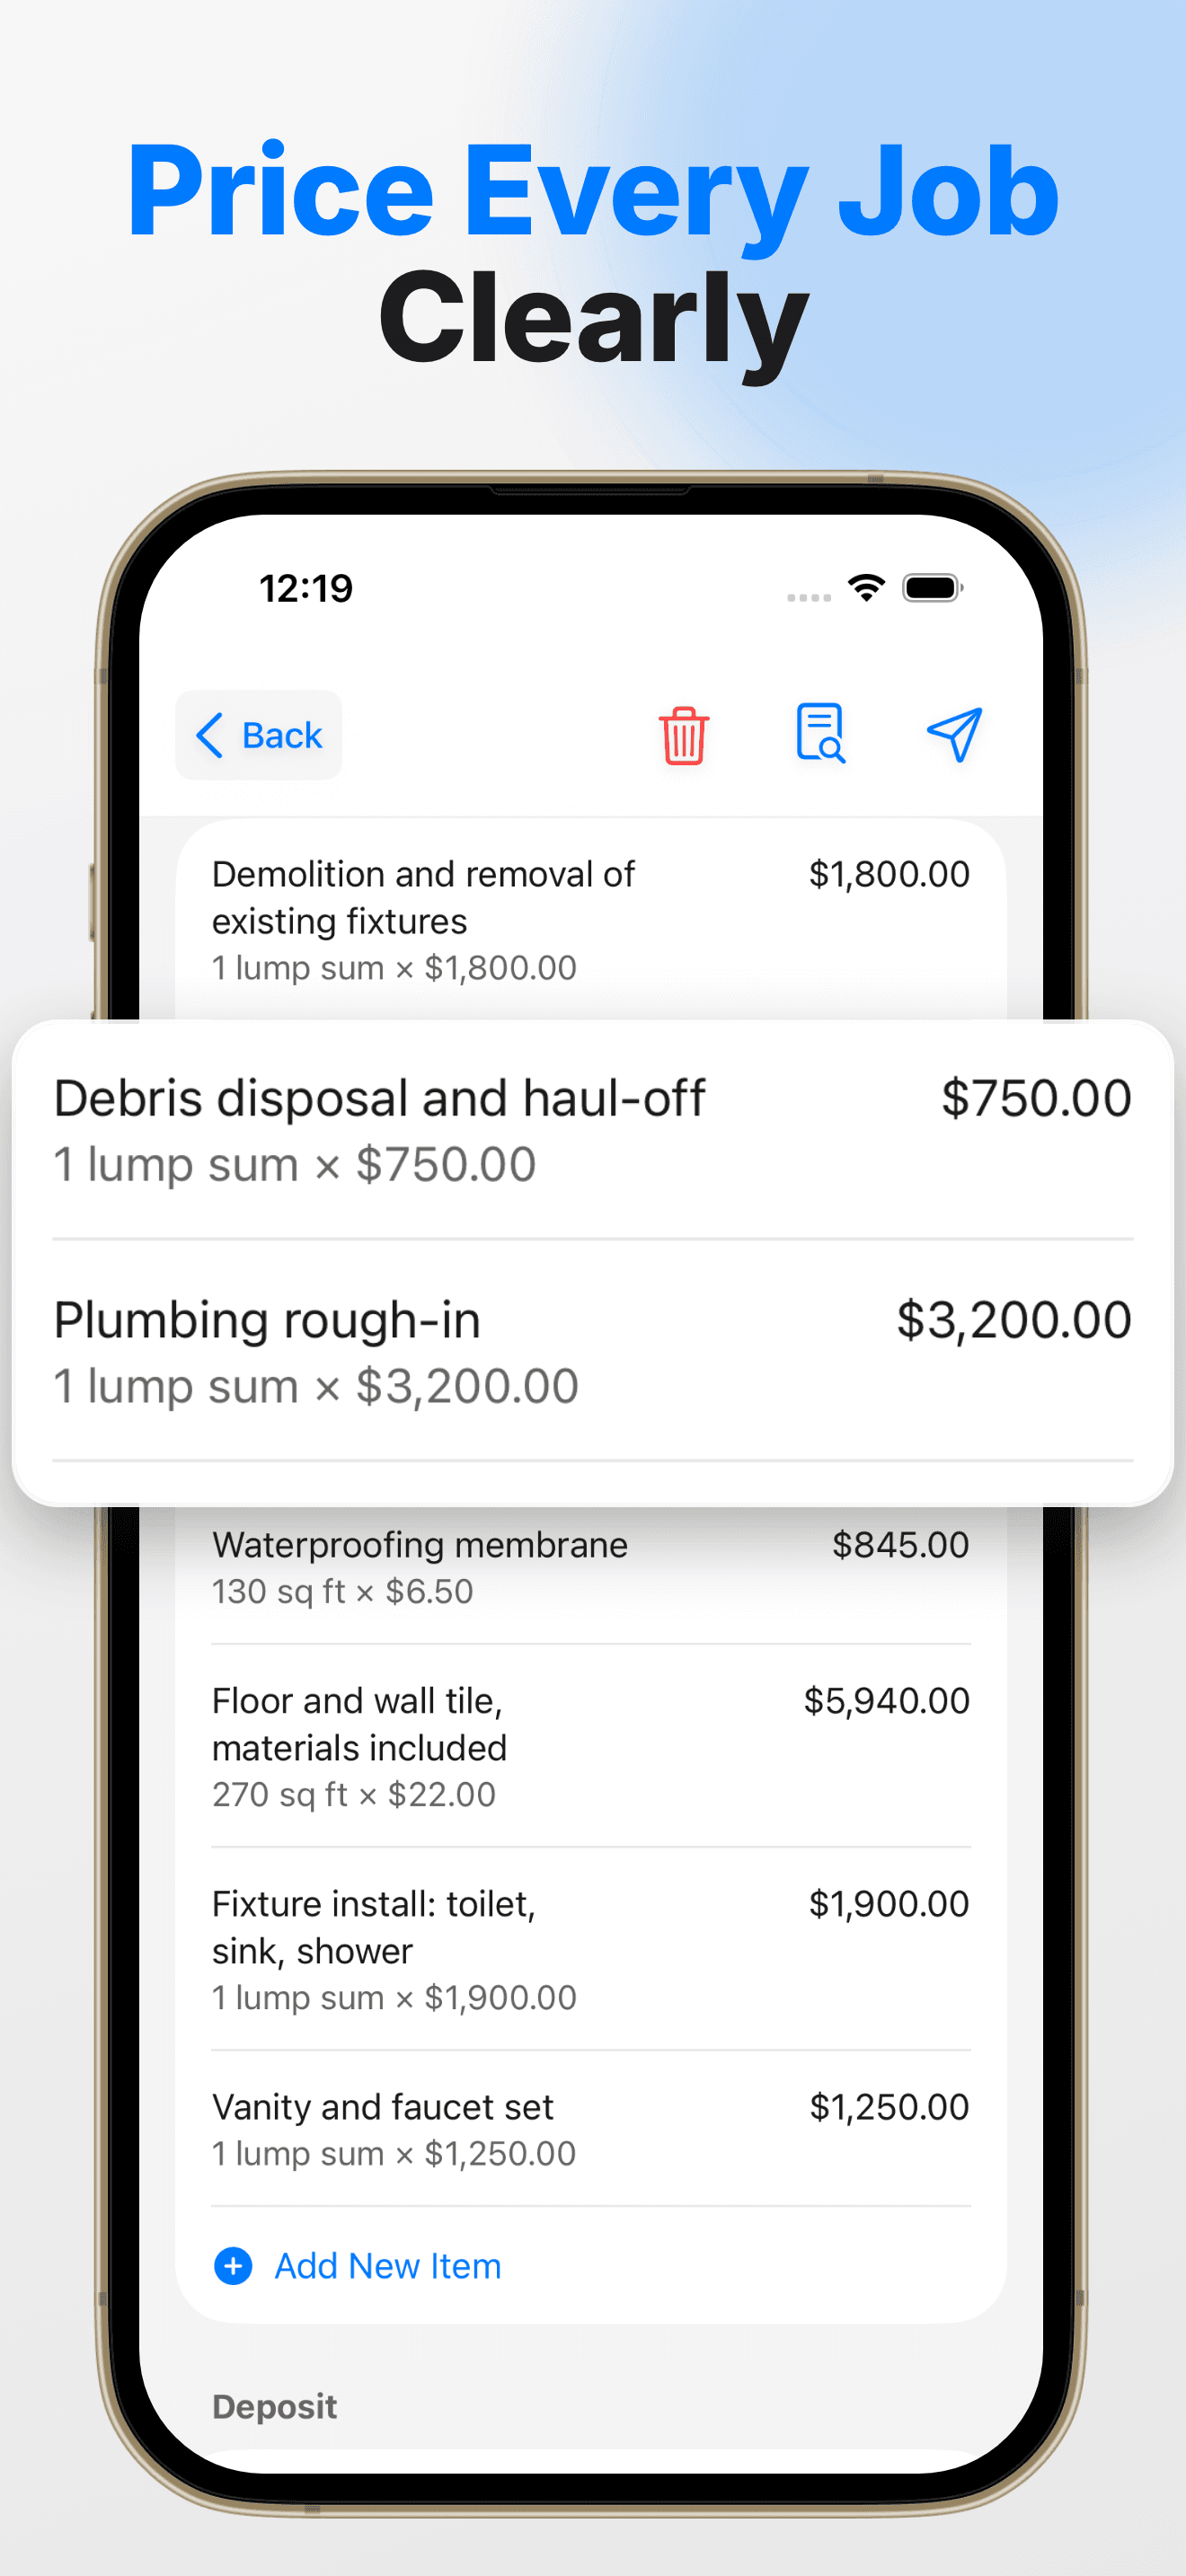
Each line should be something the customer can picture: "Wall tile — 96 sq ft", "Shower valve install — 1 ea", "Demo and haul-away — 1 job". Use a quantity, a unit, and a unit cost on every line. Avoid one giant "Labor and materials" line; it invites haggling.
Step 4: Price labor honestly
Estimate hours per task, not per job, and multiply by your rate. Add time for setup, cleanup, and trips to the supplier. These are real hours, and they disappear if you only count time spent with tools in hand.
Step 5: Price materials with a waste factor
Use current supplier prices, not last year's. Add a waste factor for cut materials. Around 10% is common for tile, flooring, and drywall, and more for diagonal or patterned layouts. If the customer supplies materials, write that on the estimate.
Step 6: Add subcontractors, permits, and disposal
Include quotes from subs (electrical, plumbing), permit fees, dumpster or disposal costs, and equipment rental. These are easy to forget and come straight out of your profit when you do.
Step 7: Add markup and a contingency
Add markup to cover overhead and profit. On remodels where you can't see behind walls, many contractors add a separate contingency line (often 5–10%) and explain that unused contingency isn't billed. Read markup vs margin if you aren't sure which one your percentage is.
Step 8: Set terms and send a PDF
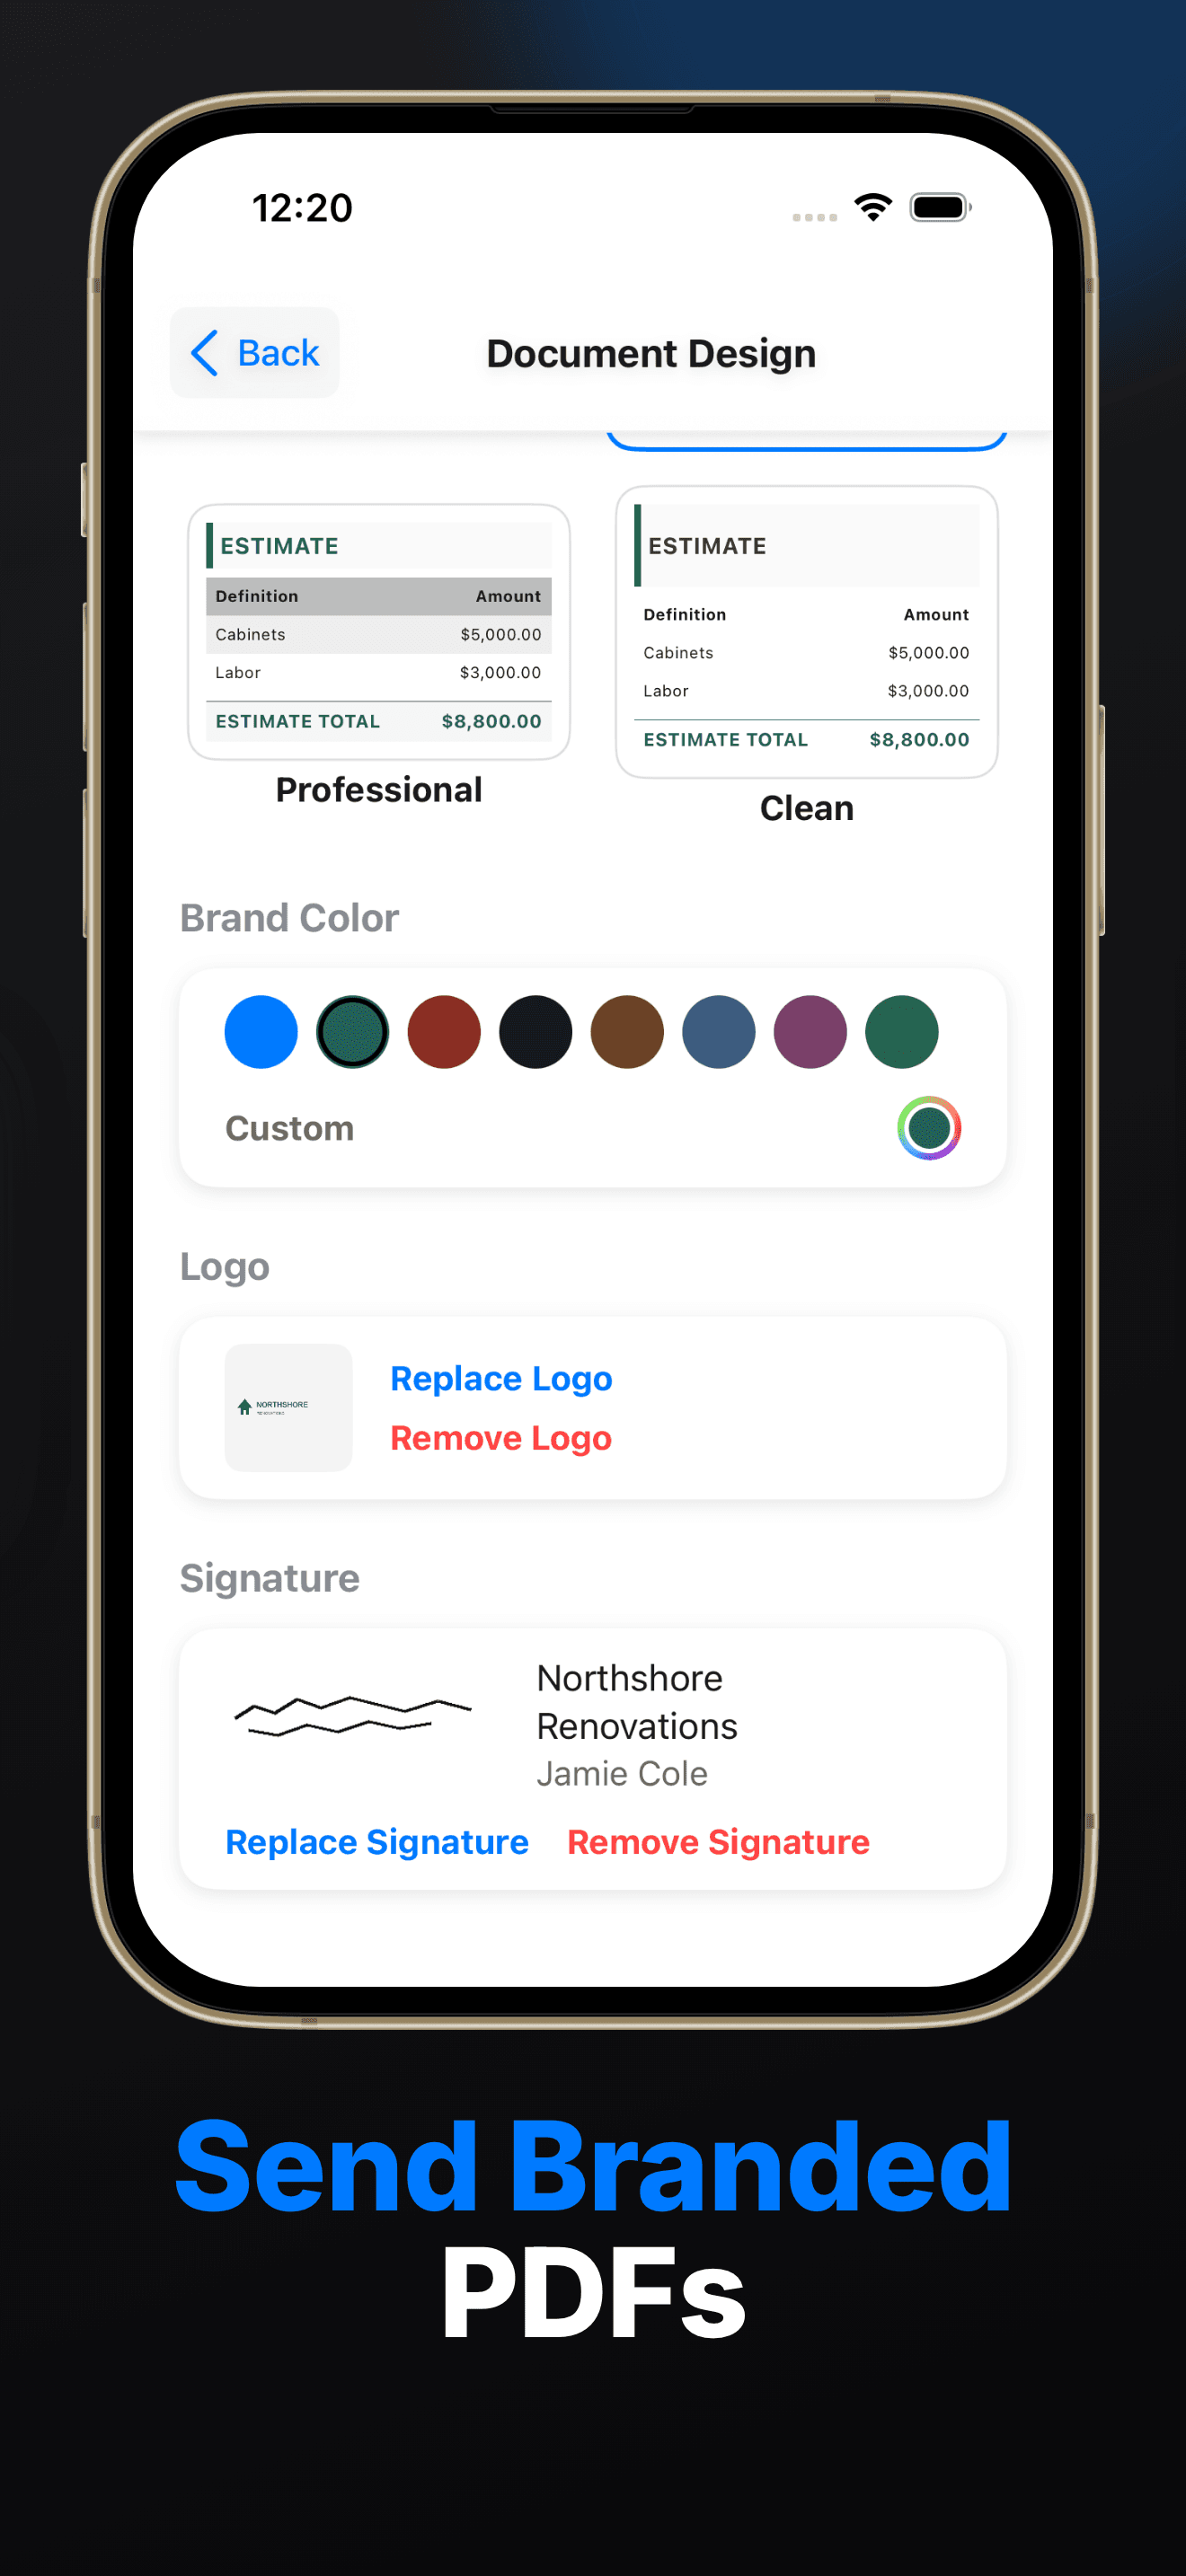
Finish with the terms: deposit, payment schedule, how long the estimate is valid (30 days is common because material prices move), and how change orders are handled. Send it as a branded PDF and ask for a signature. A signed estimate is the start of a clean invoice.
Common estimating mistakes
- Pricing from memory instead of current supplier prices
- Forgetting setup, cleanup, and travel time
- No waste factor on cut materials
- One lump-sum line the customer can't evaluate
- No validity date, so an old price gets accepted months later
- Scope exclusions that were said out loud but never written down
Doing this in Invo
Invo is built for writing estimates on site, right after you measure:
- Estimates, quotes, and invoices in one place
- Line items with quantity, unit, and unit cost
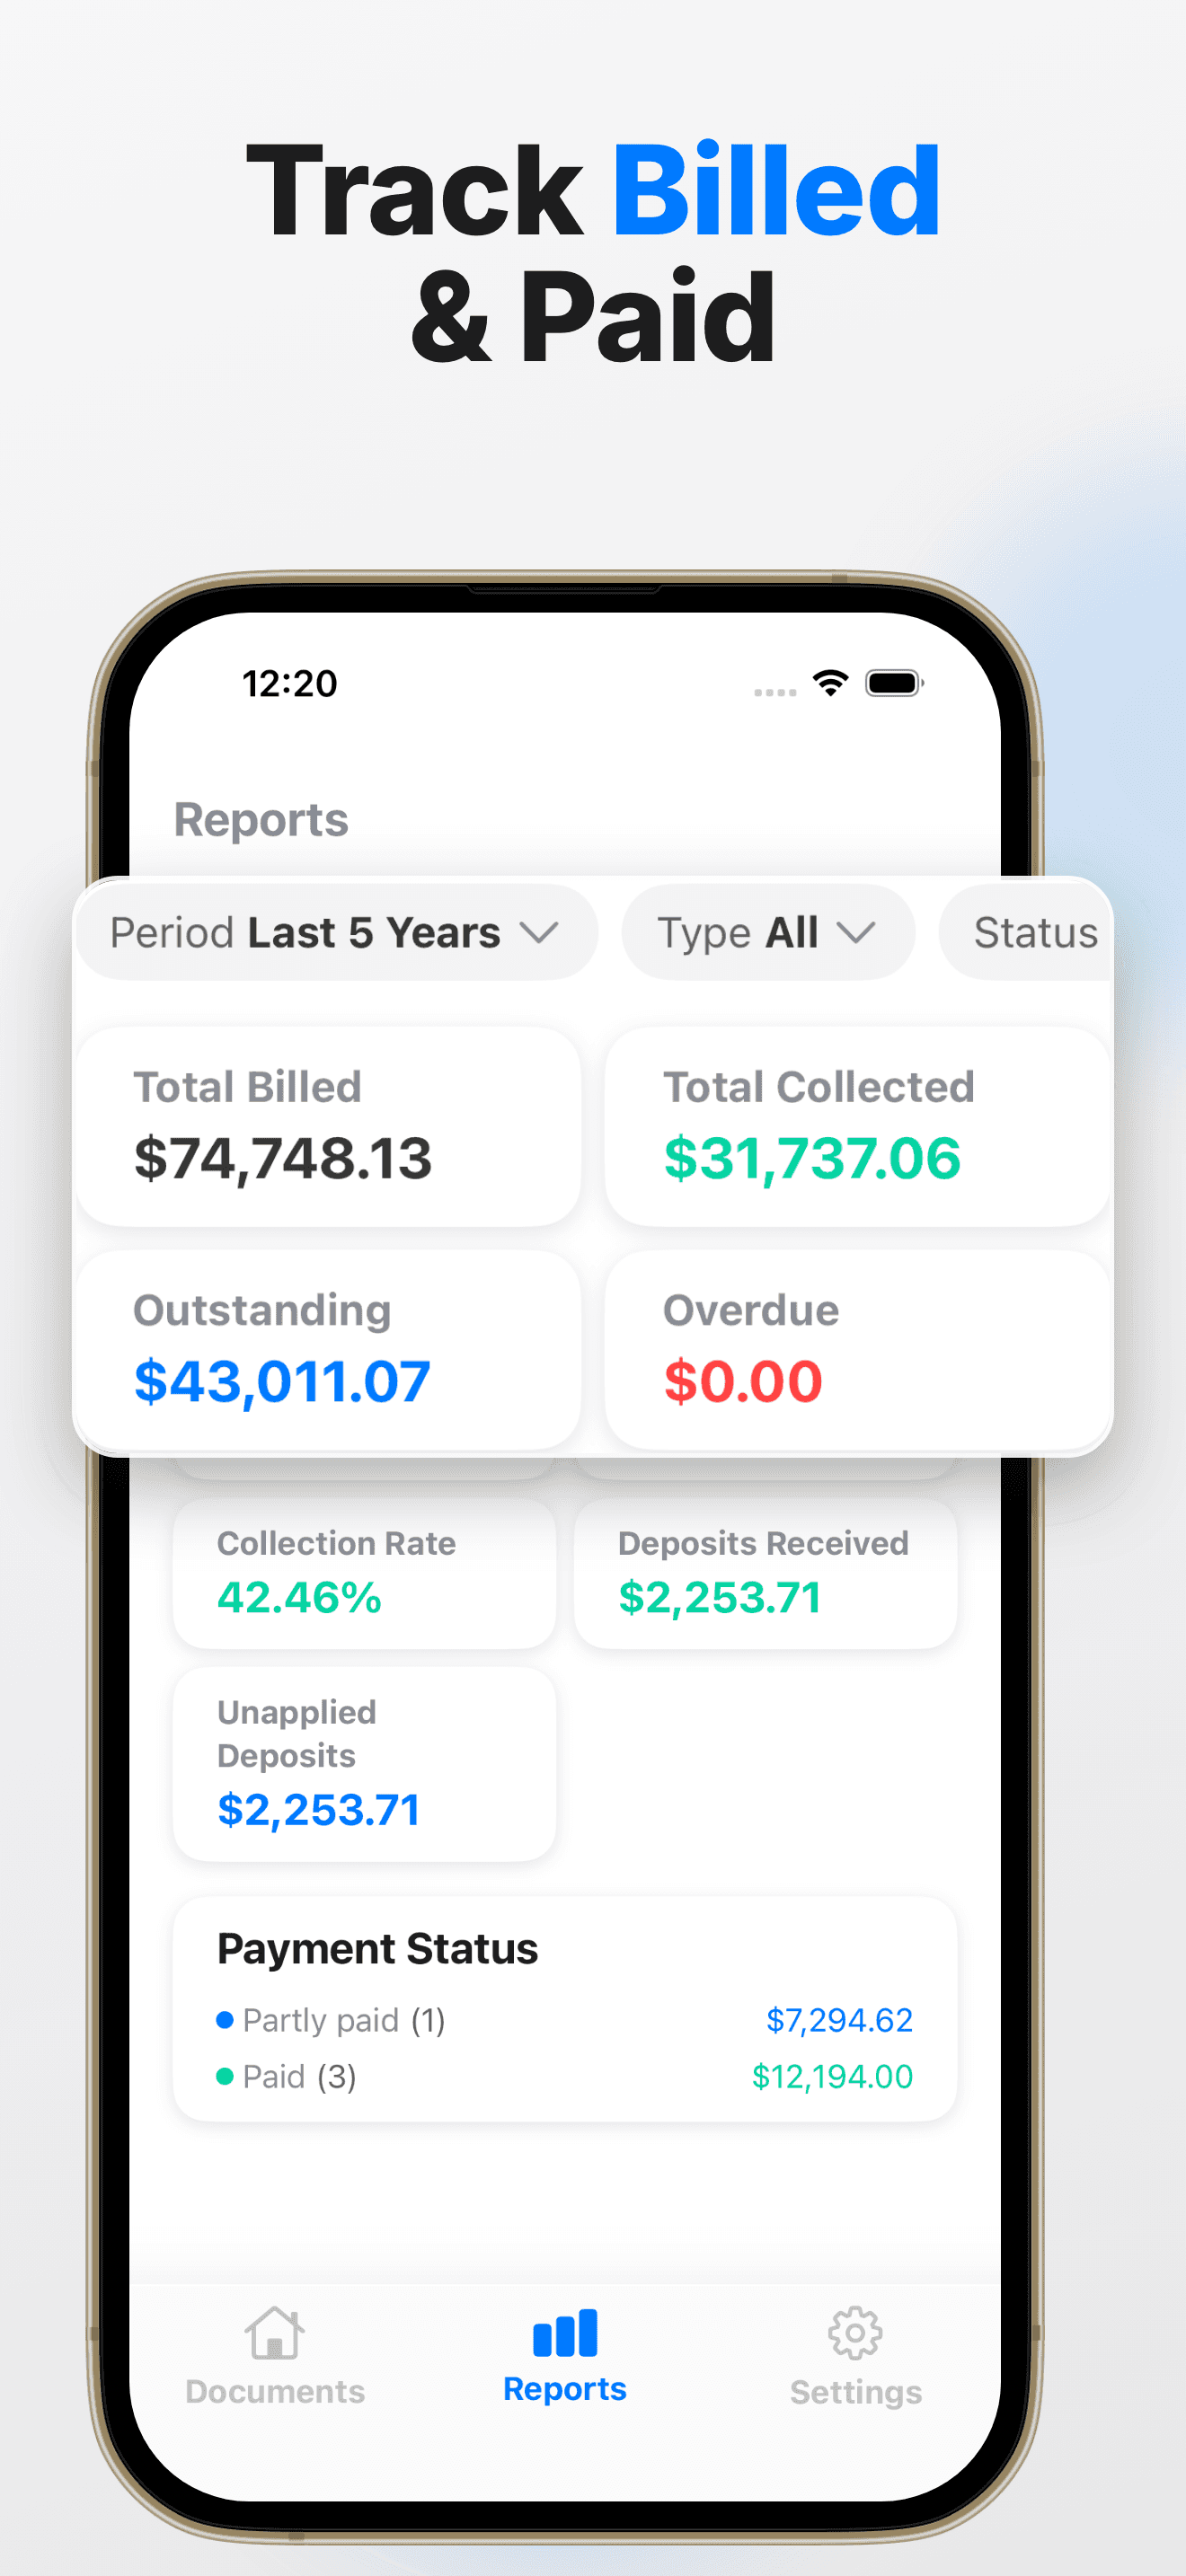
- Markup, sales tax, deposits, and payment history
- Your signature on every branded PDF
- Branded PDFs — logo, color, and six templates
When the job is approved, the same lines become the invoice. Here is how to turn an estimate into an invoice.